Cook like a Monger: Mandarinquat Mojo Pork


by Matt Gruber

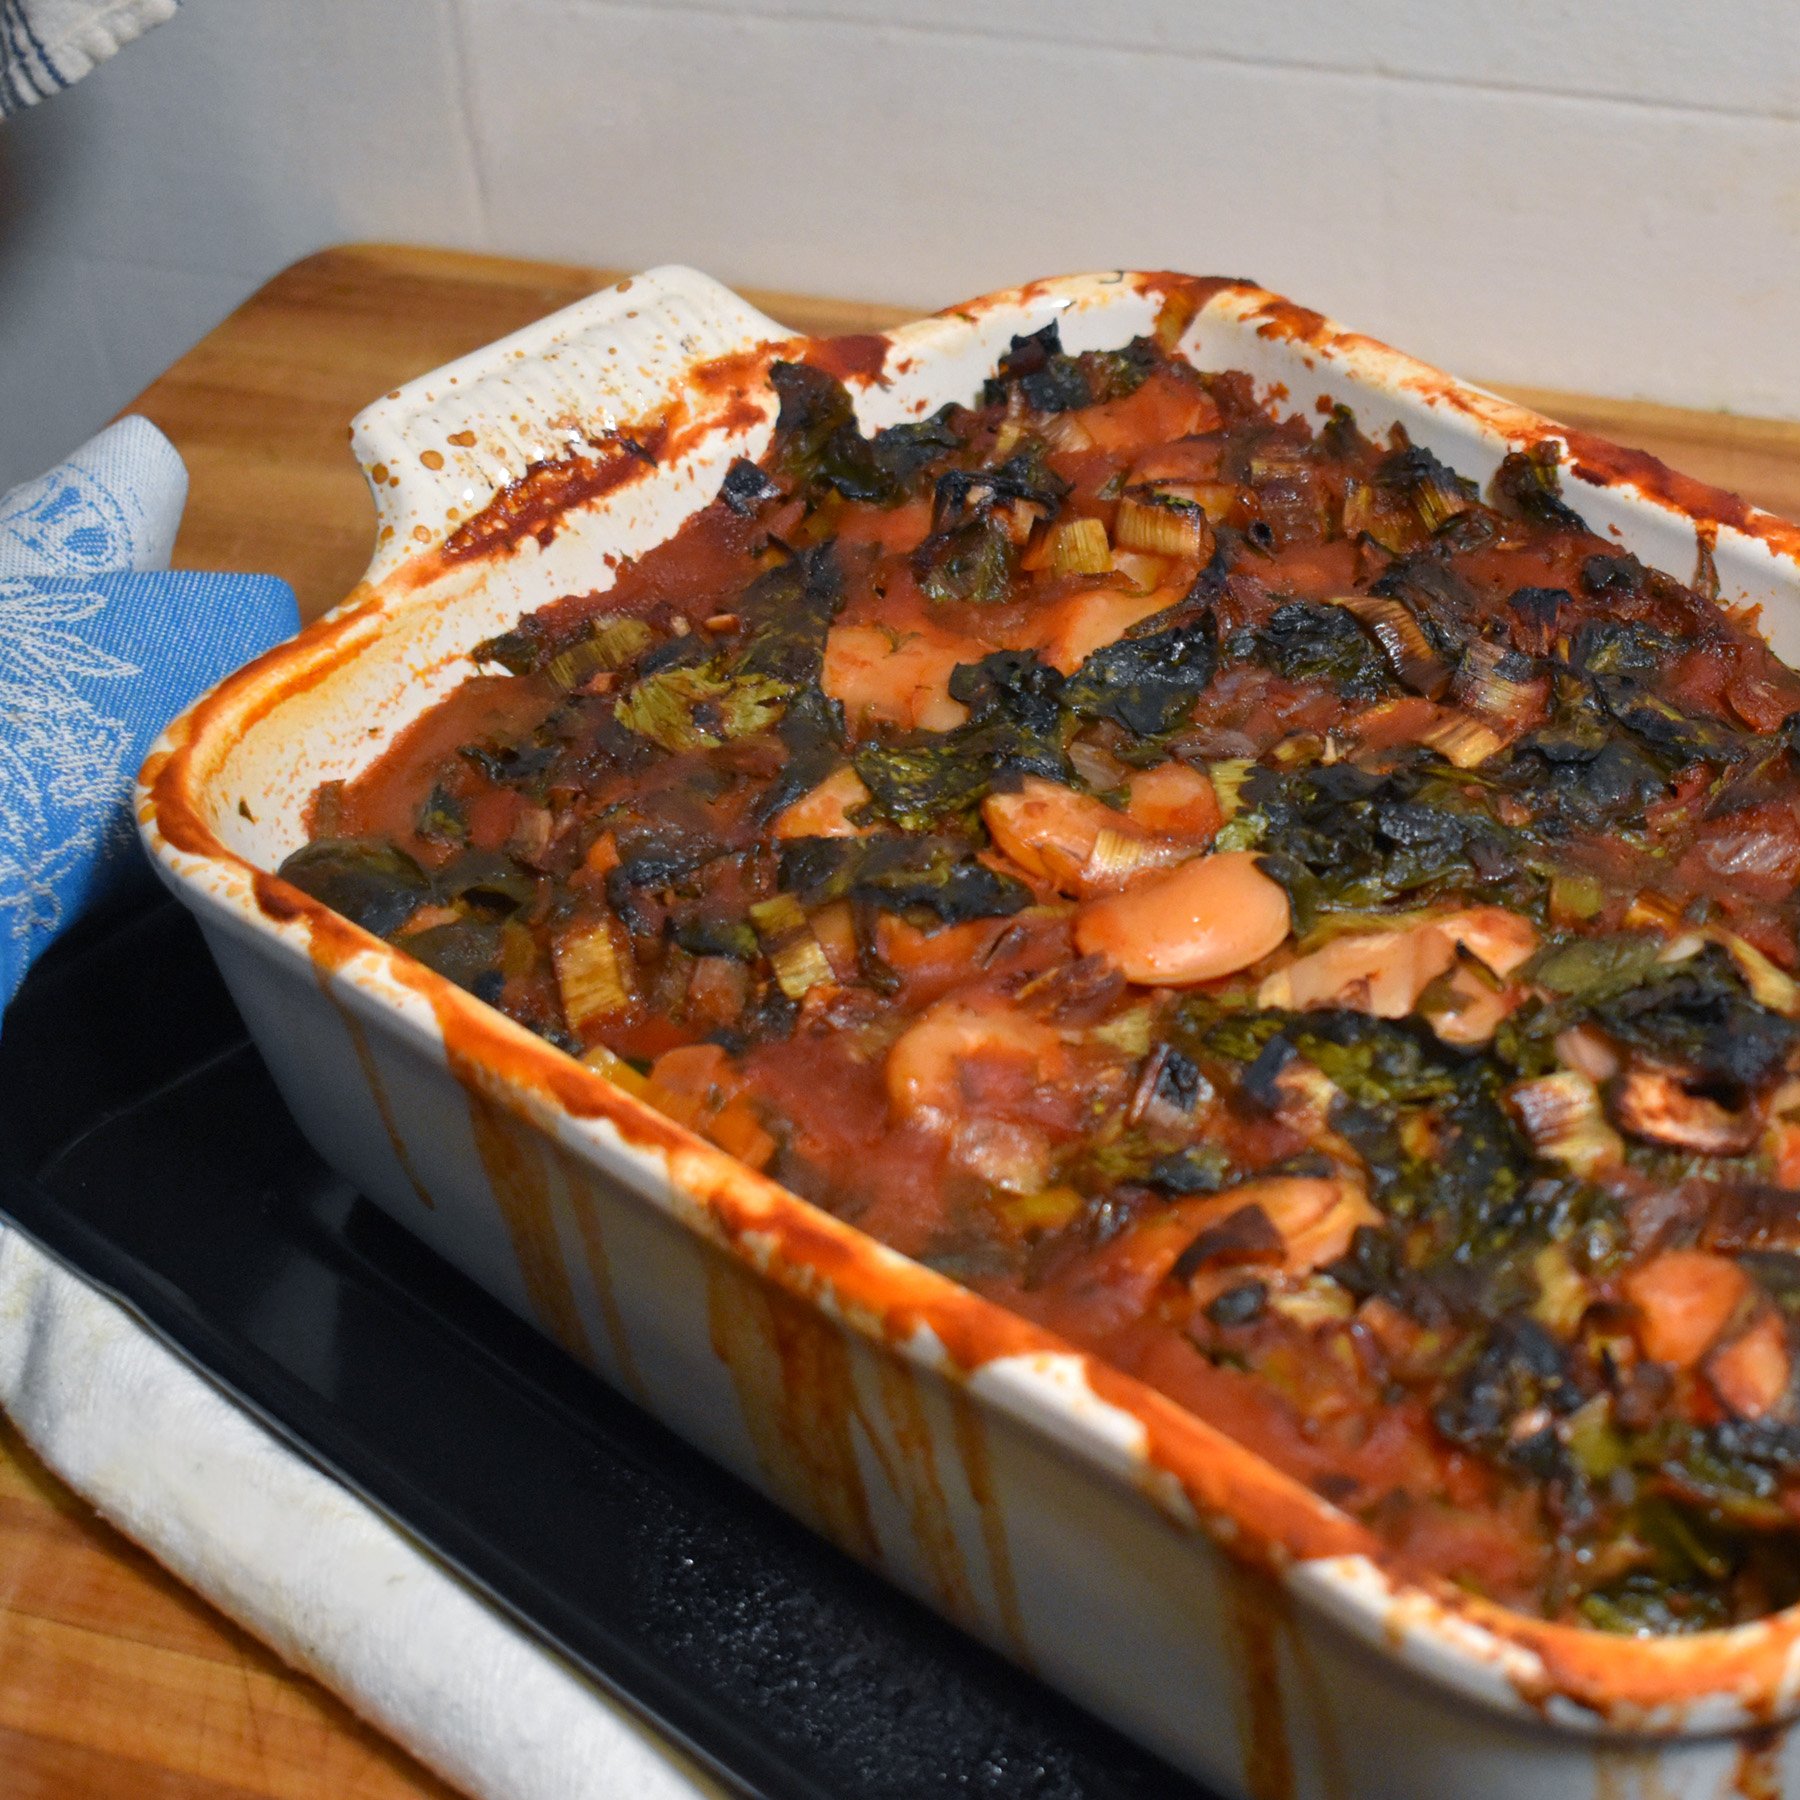
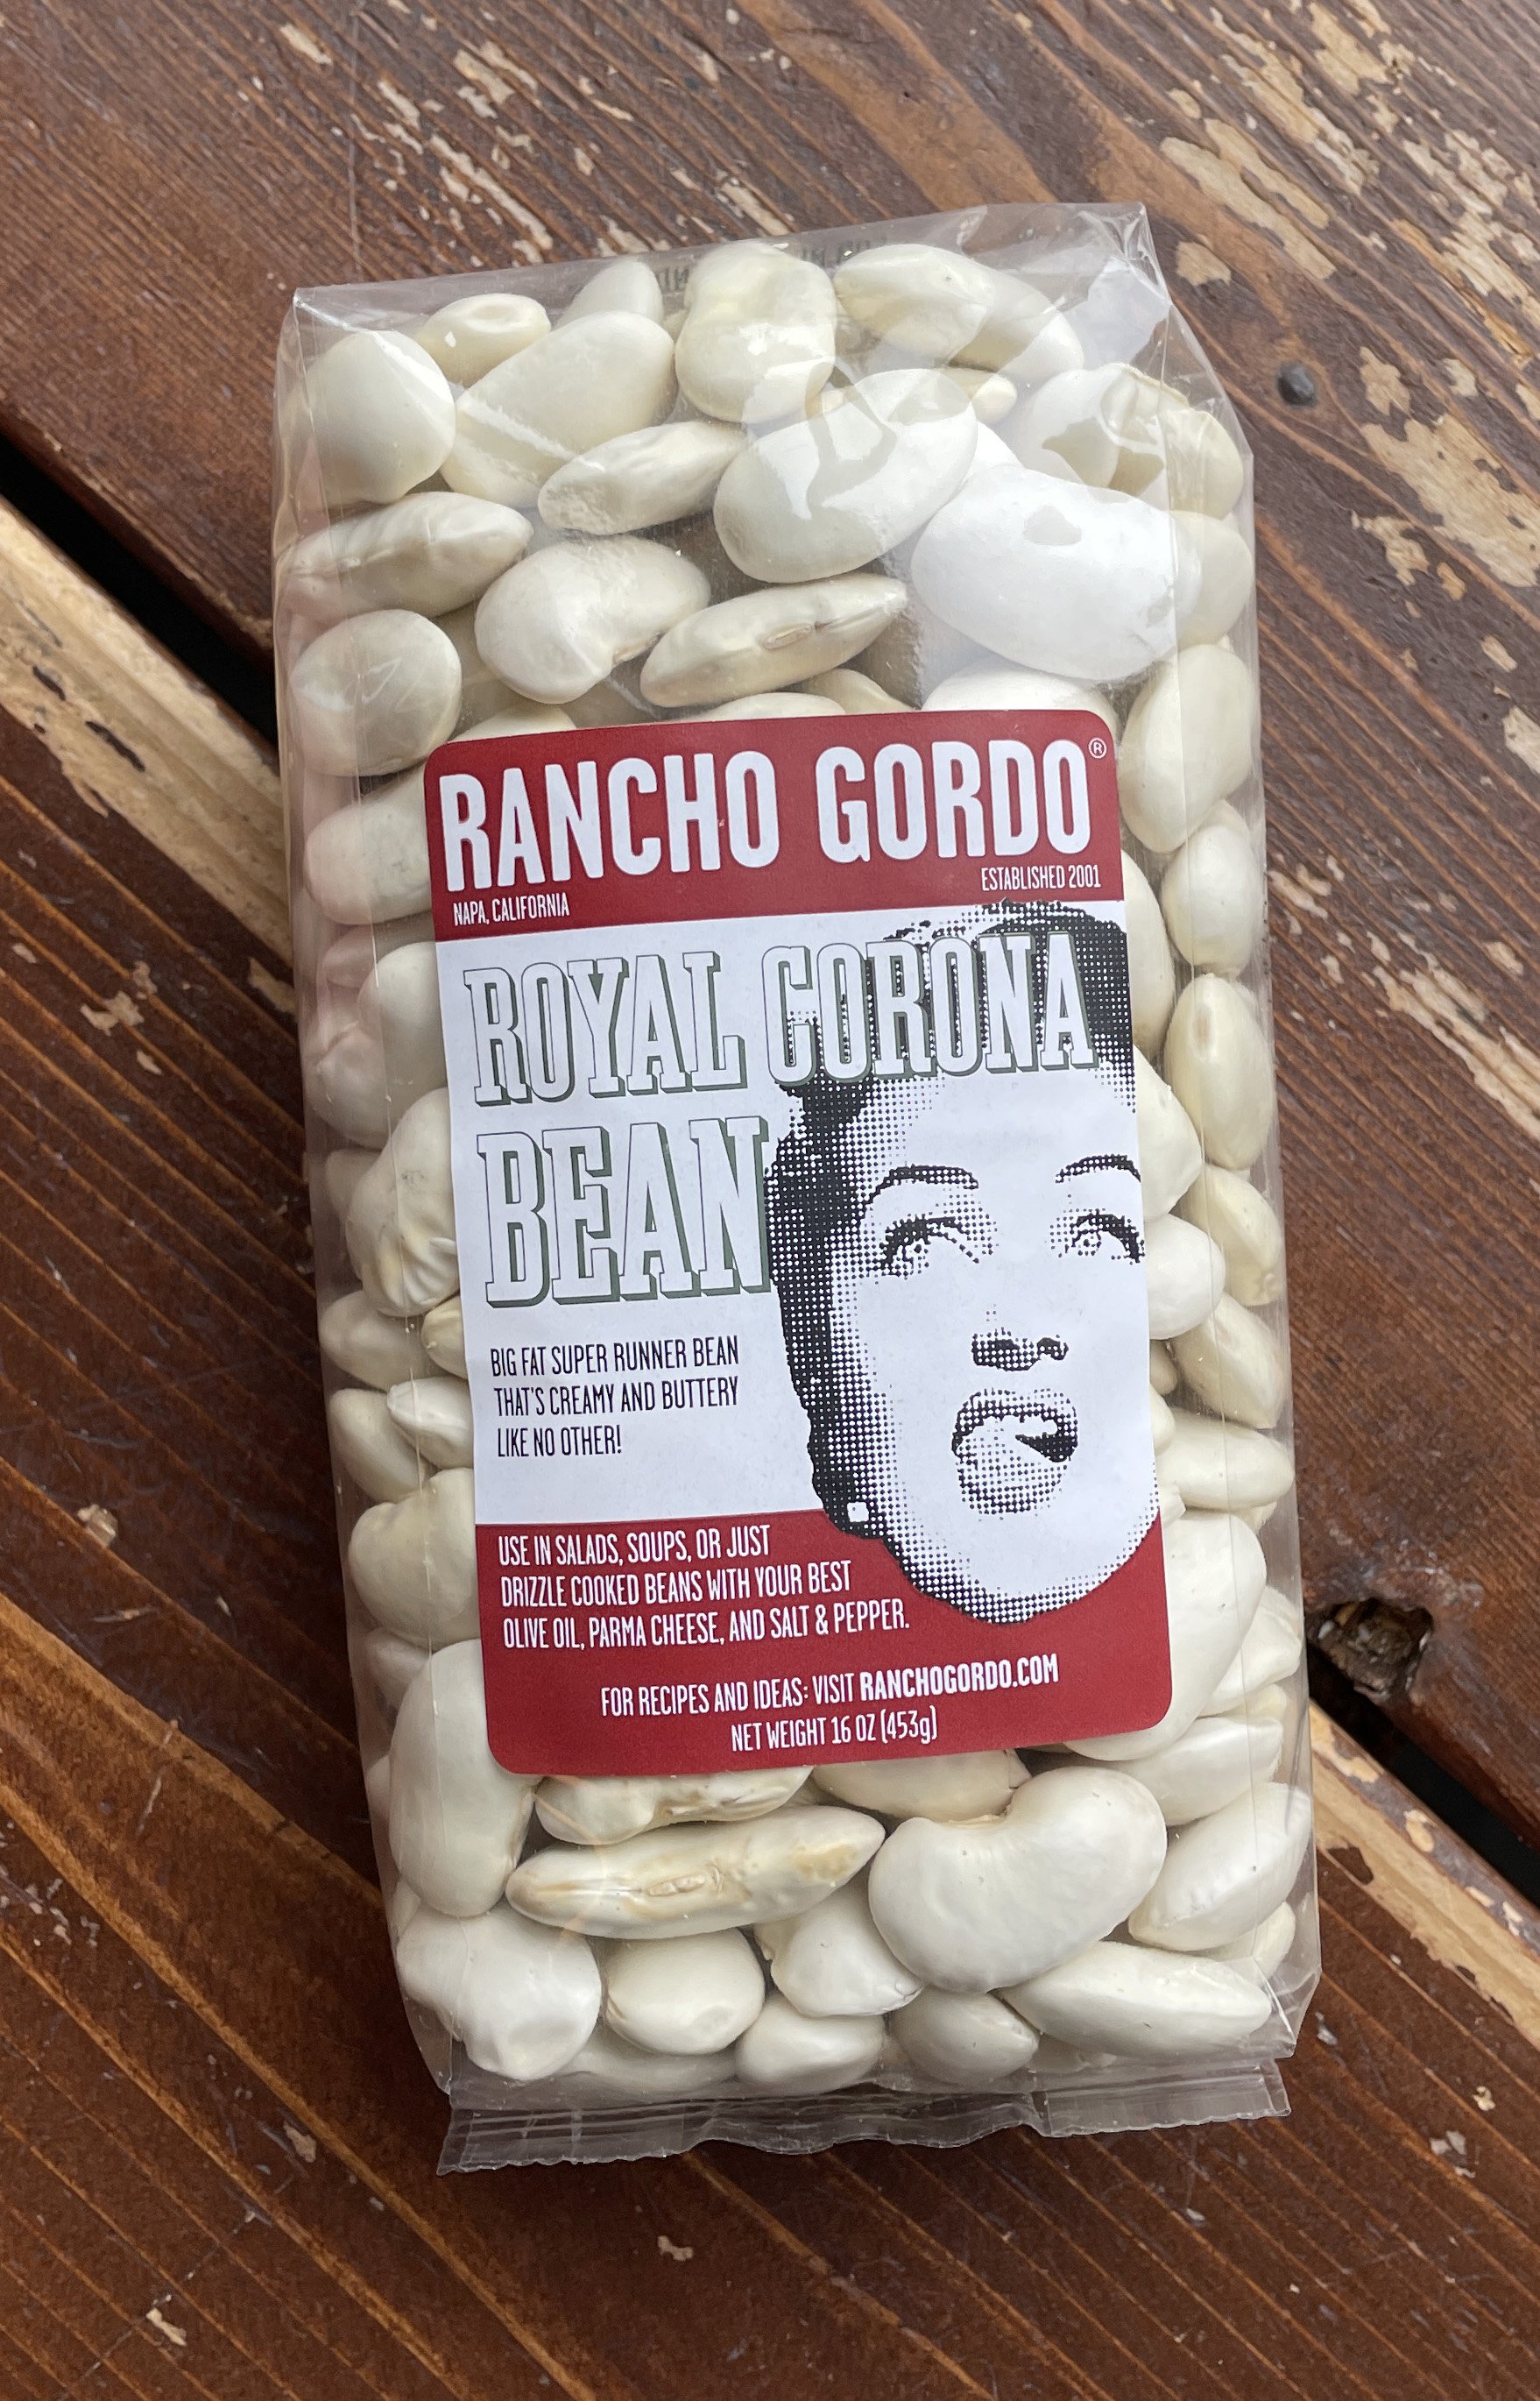
After dipping my toes into chili verde and enjoying a taste of summer, I decided to take my pork adventures a bit farther east over to Cuba: Mojo, Pork Mojo (as one famous British spy maybe once said). Mojo in its origin means sauce. Typically it's prepared with some variety of pepper, olive oil, garlic, paprika, cumin, and coriander. Traditionally you see a green or red take on this sauce being used on any variety of meat from sea to land. If you venture into other parts of the Caribbean you will find a similar Mojo with robust citrus, cilantro, and garlic, almost exclusively used on pork. Keeping it fairly simple and to the point I stuck to the heavy citrus with the addition of Mandarinquats. A funny small fruit being the result of kumquats and satsuma mandarins packs a nice tart pulp with no lack of juice- it was the perfect addition to this dish. An easy recipe for a lazy day slow cooker meal or a few hour dutch oven braise. Guaranteed to have your house smelling good and your belly nice and happy. Paired with Rancho Gordo black beans you cannot go wrong.

Ingredients

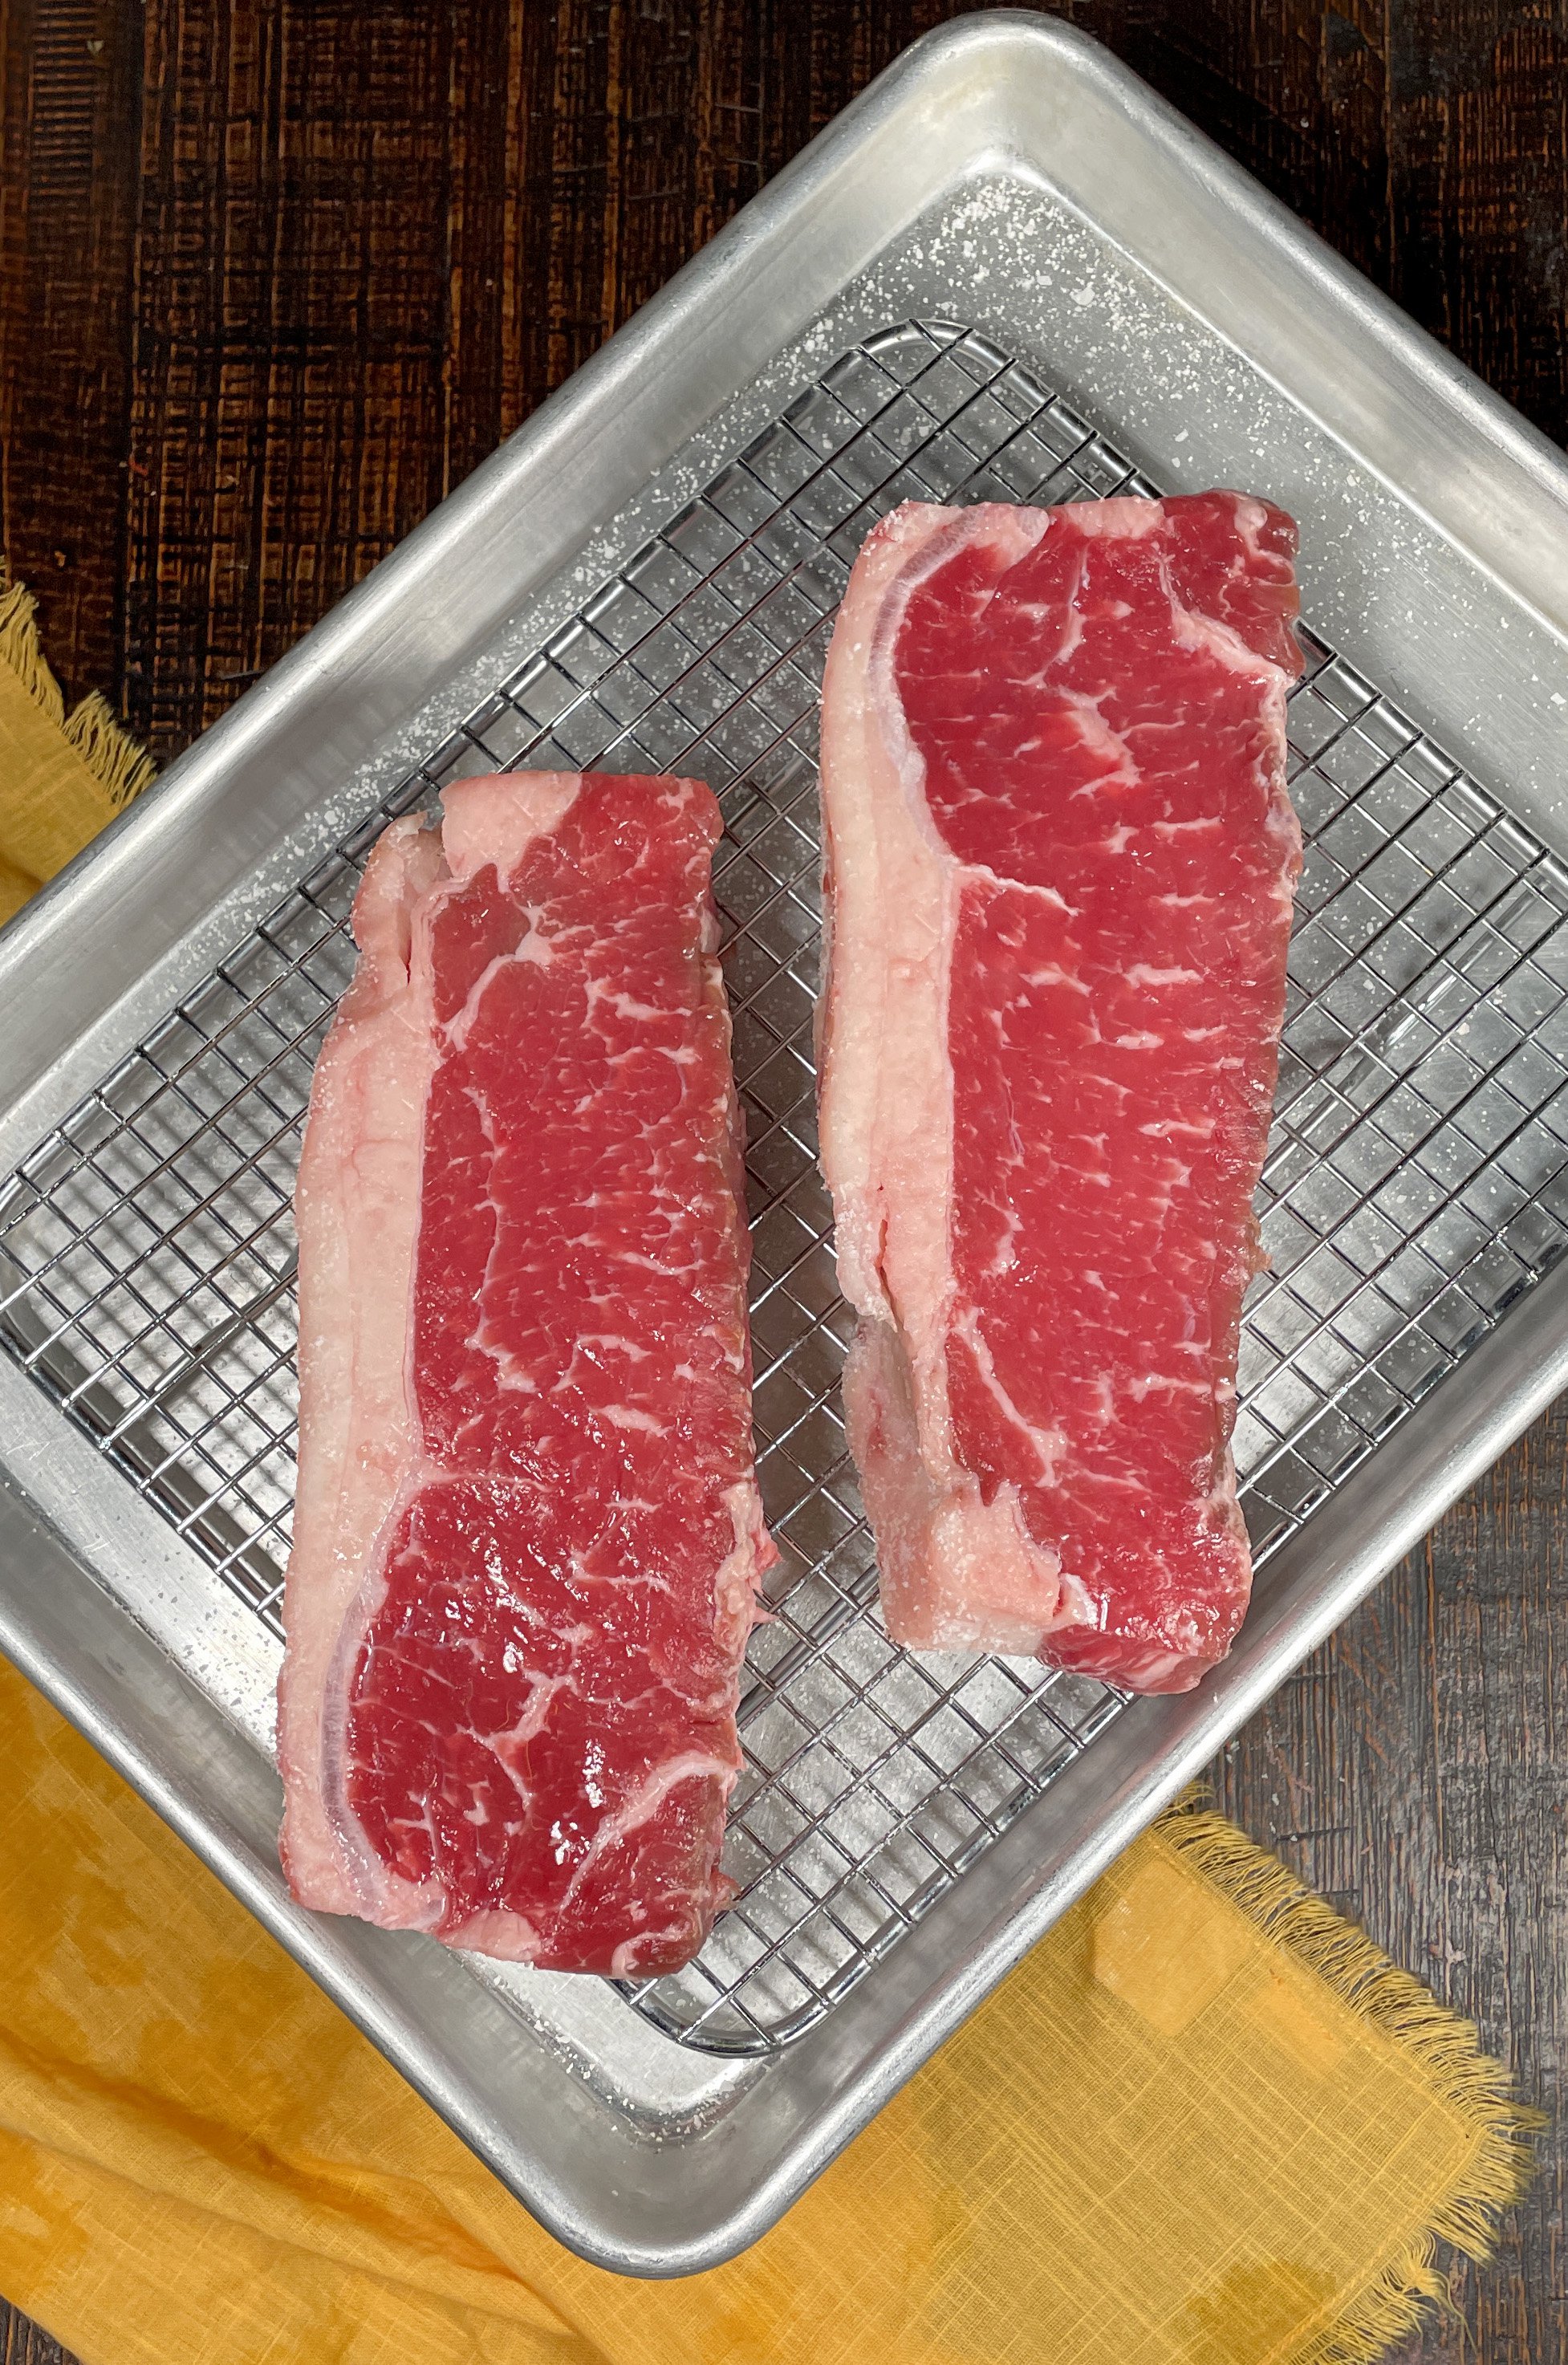
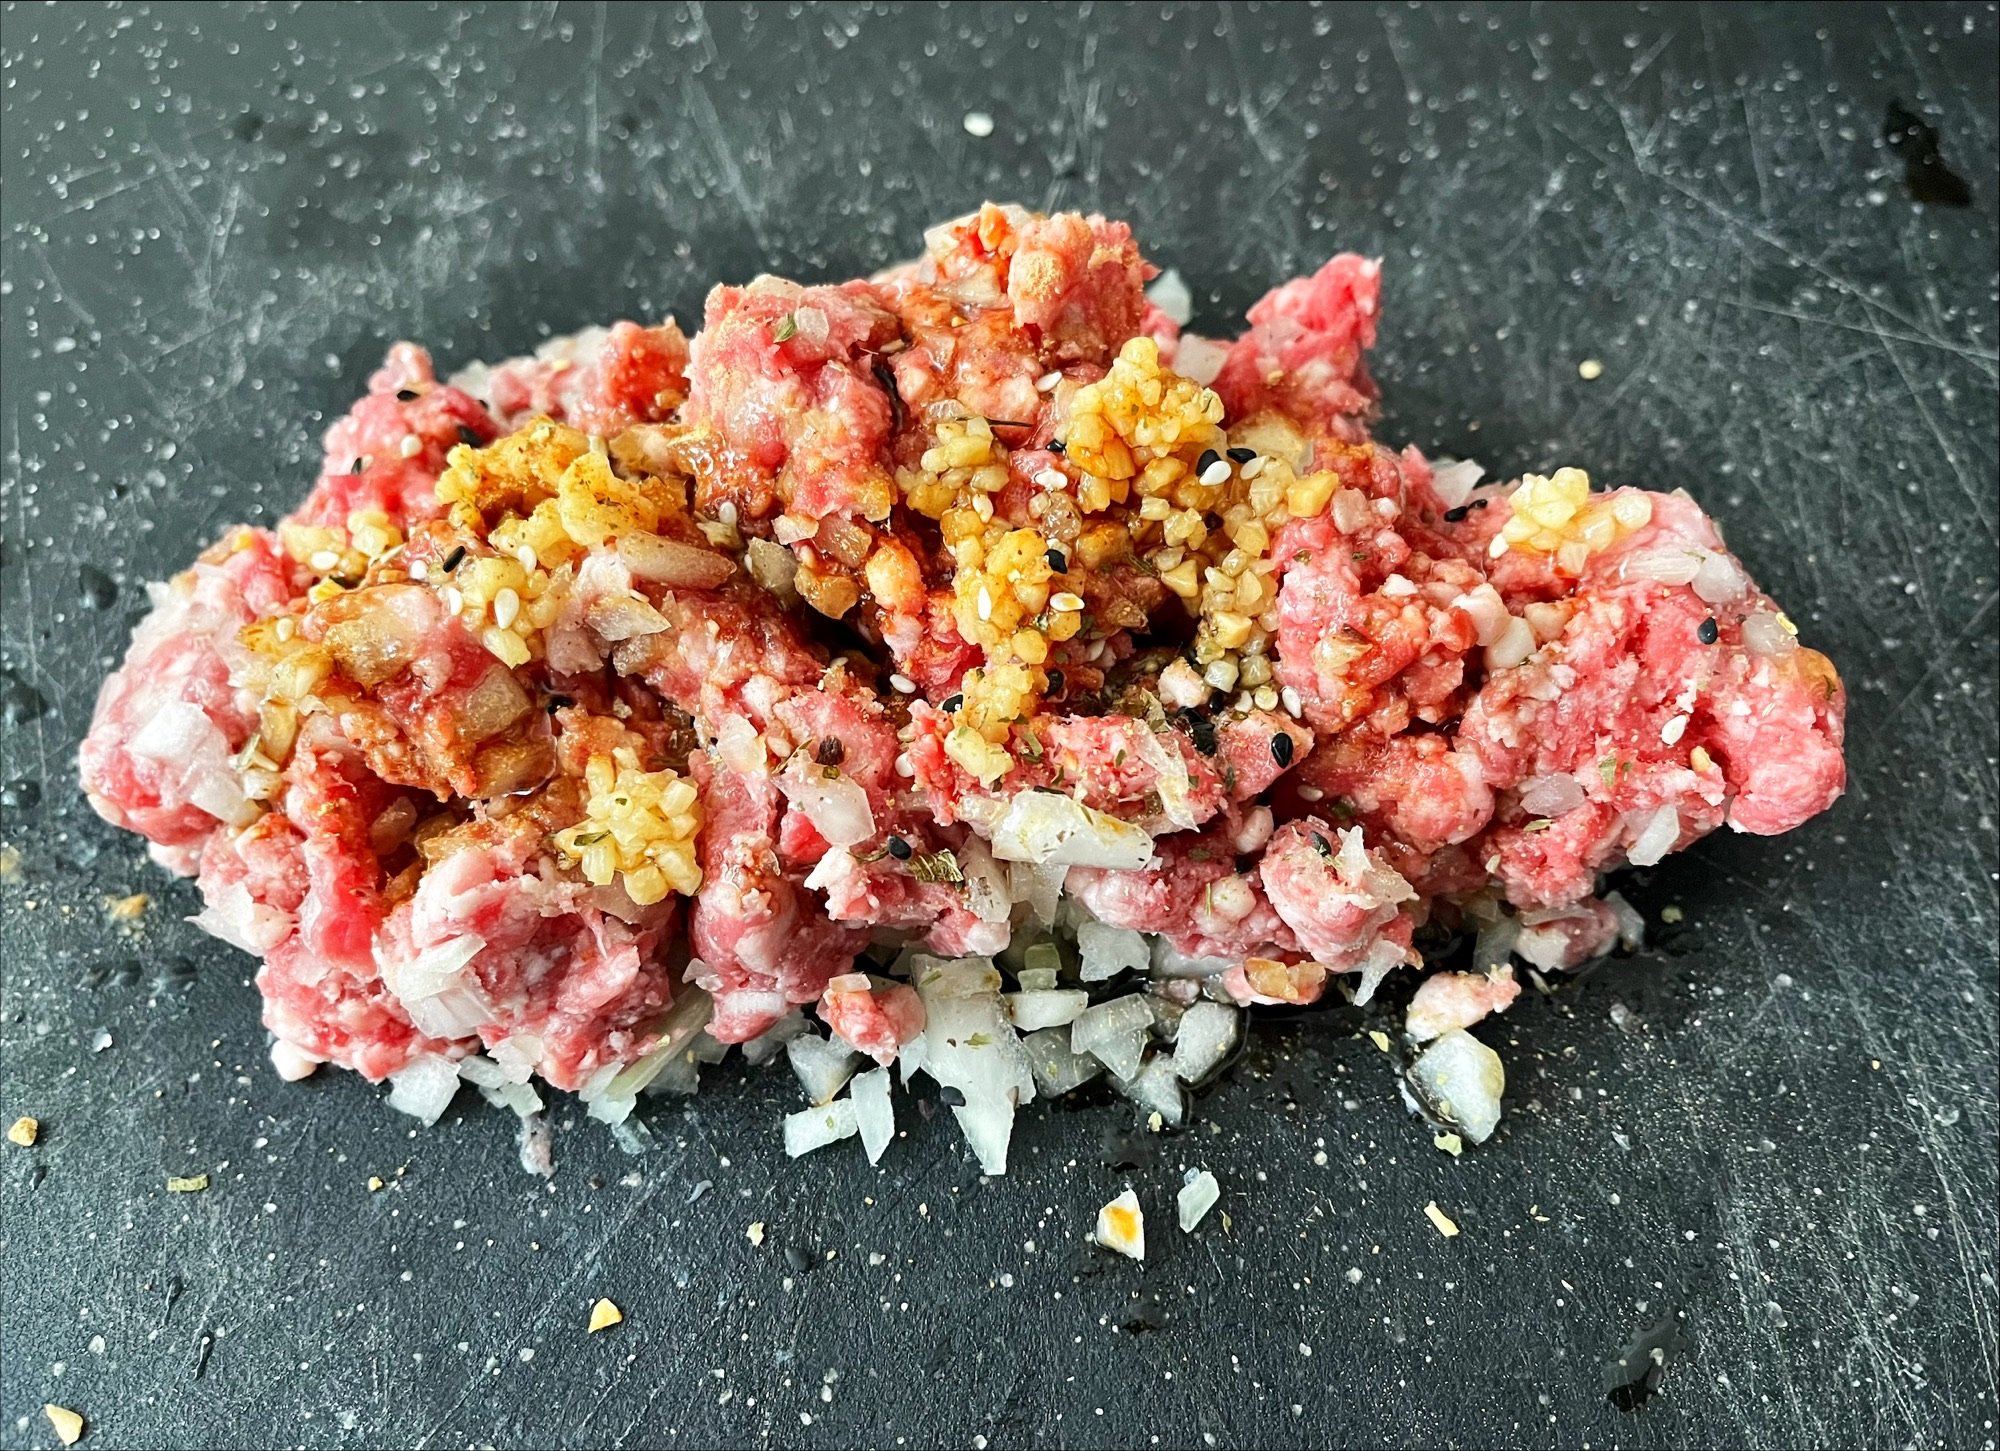
1# Pork shoulder or Boston butt

3 cloves garlic, minced

2 tbsp ground cumin

1 lime zested and juiced

1 lemon zested and juiced

4 mandarinquats zested and juiced

1 qt chicken stock

1/2 bunch cilantro

salt and pepper to taste

1 cup orange juice with pulp

1. Brown pork on all sides for 3-4 minutes.

2. While pork is browning, mince garlic, zest lemon, lime, mandarinquat, and chop cilantro. Place aside in a bowl.

3. Get your dutch oven or crockpot ready by placing 1 qt of chicken stock, 2 tbsp ground cumin, citrus zest, and 1/2 cilantro inside. (leftover cilantro for garnish)

4. Take browned pork and place inside the preferred cooking vessel and let go for 2hr in a dutch oven at 375 or 4hr in a slow cooker on high.

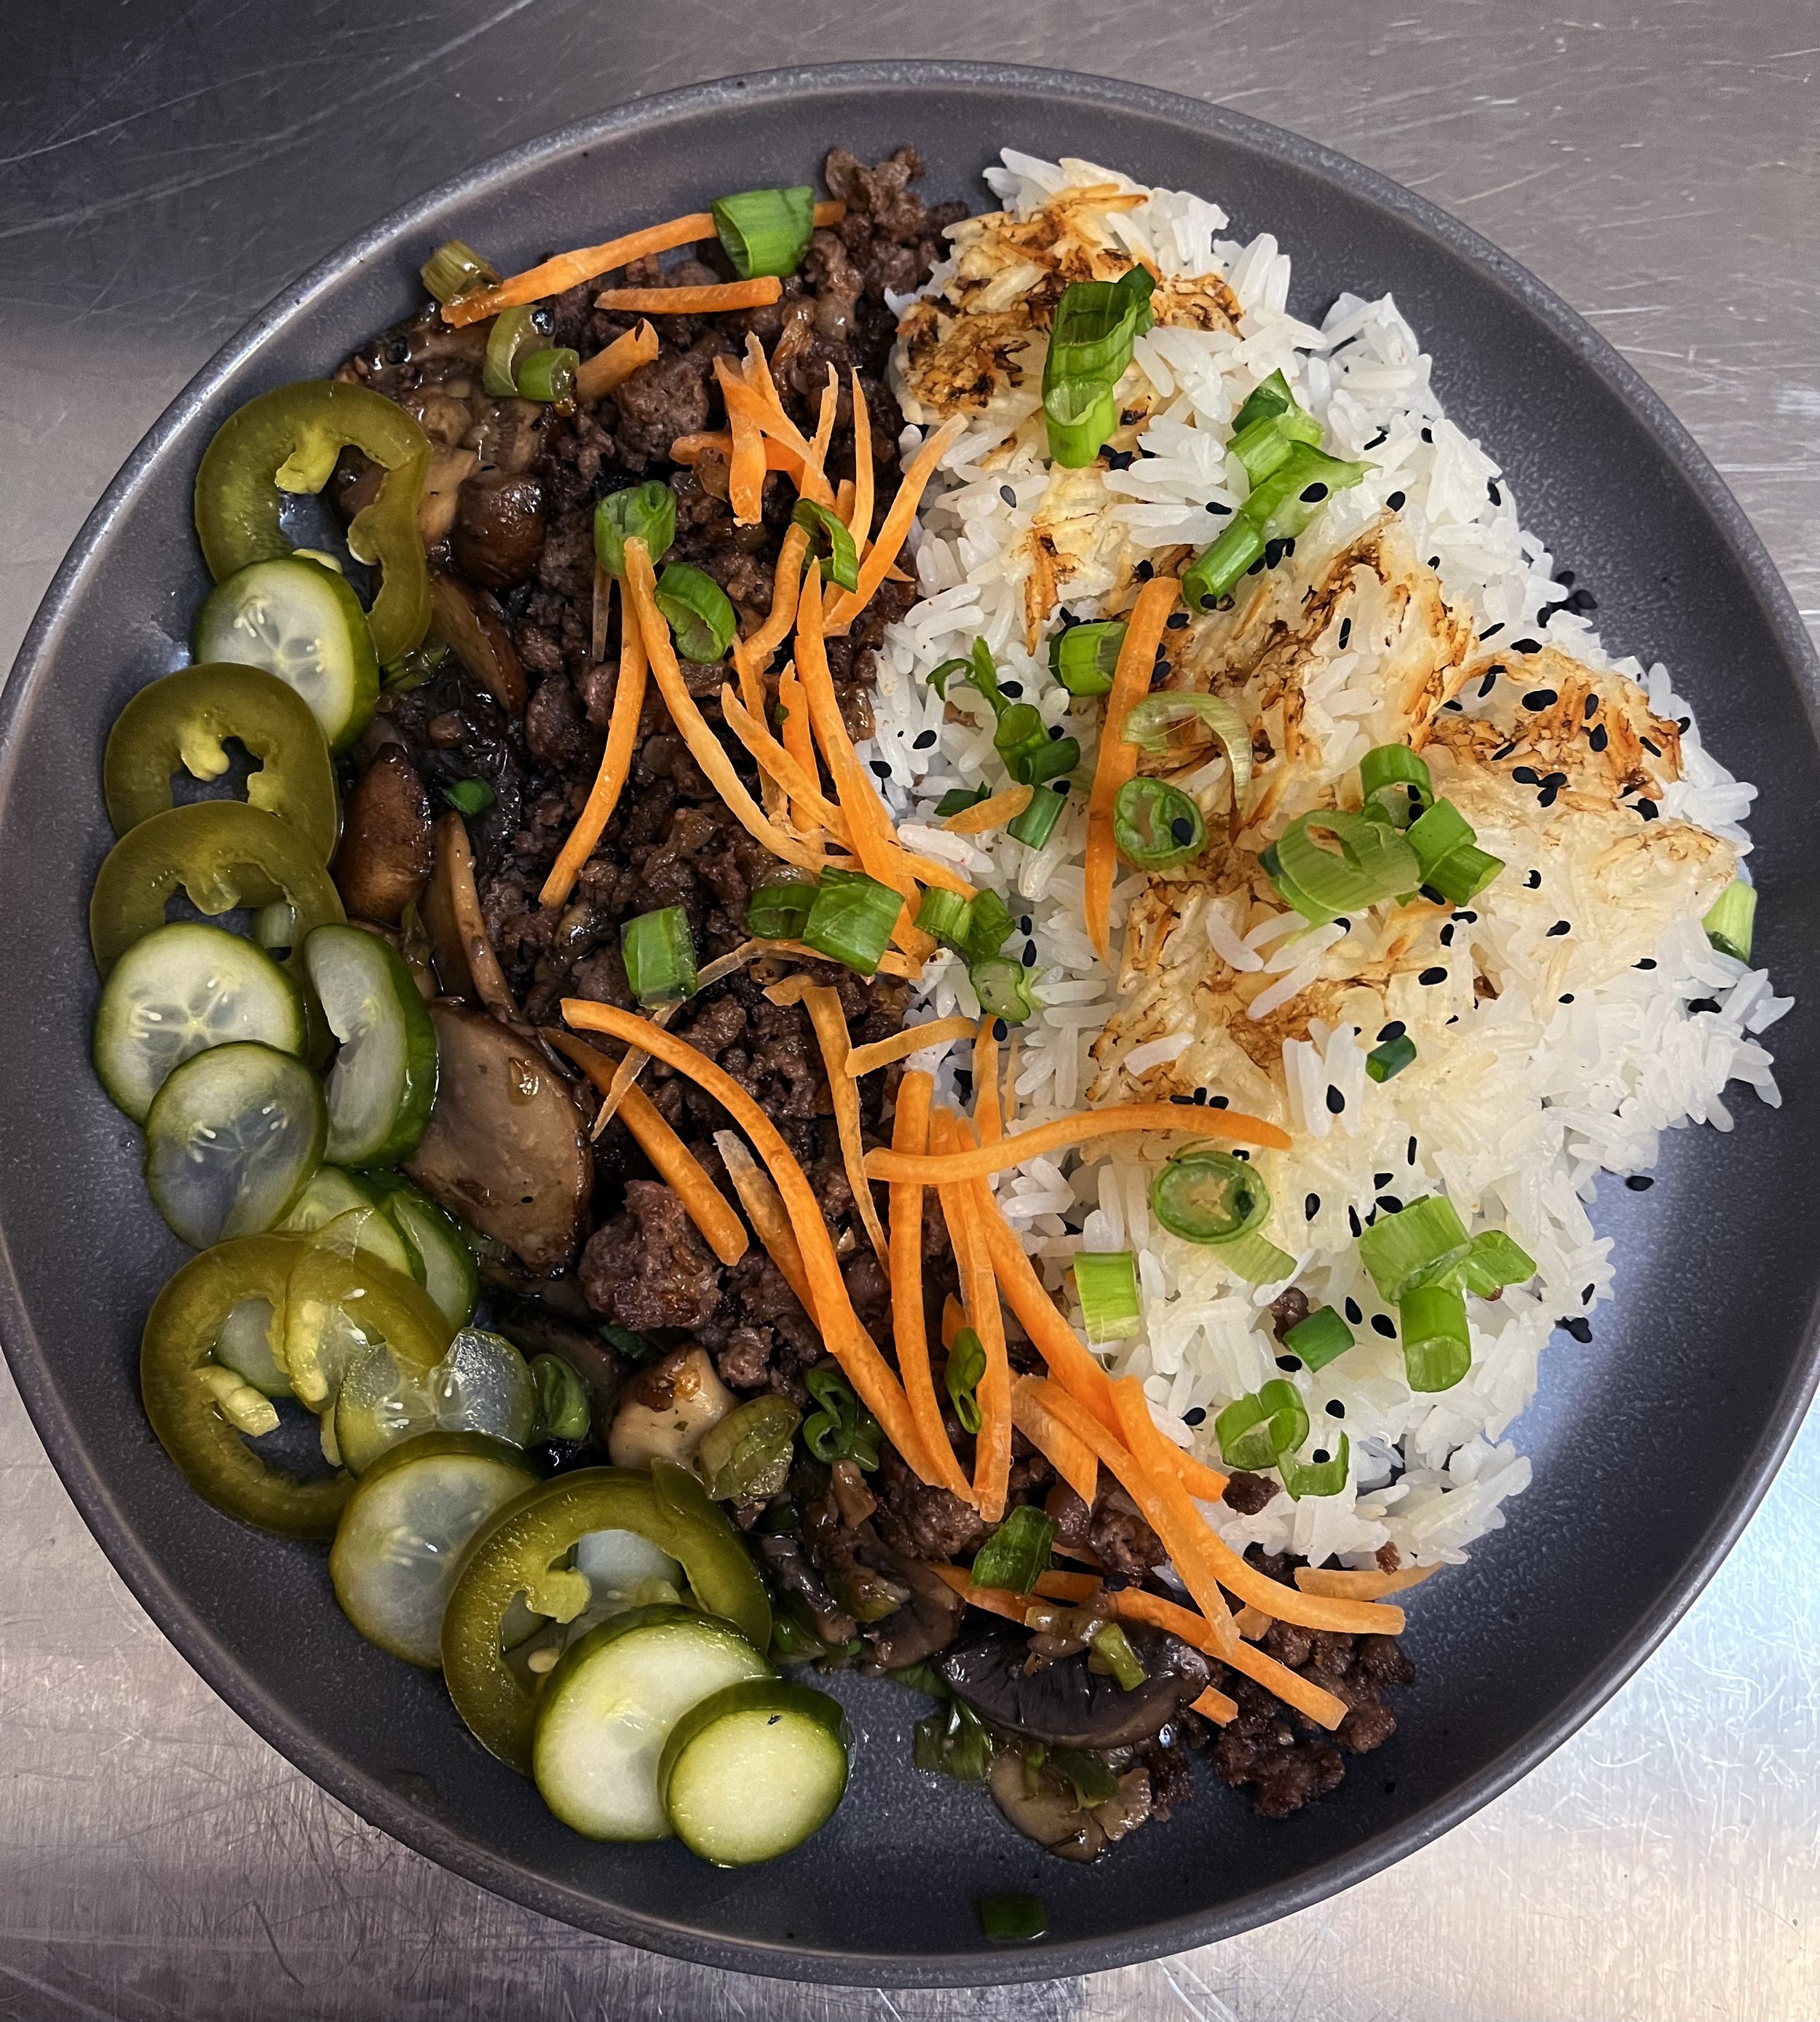
5. Shred pork once it has reached 210 degrees or higher, plate over rice and beans with cilantro garnish and a spoonful of cooking liquid.

I really enjoyed this dish with black beans and white rice. A bean booster I have been doing adds bay leaf, a dash of cumin, oregano, lime juice, and a splash of white vinegar.


Cook like a Monger: Gigantes Plaki


by Austin Coe Butler

Obsessions are difficult to explain. By their nature they defy explanation and reside outside of reason. So I will just tell you that I have become obsessed with Rancho Gordo beans, and that this obsession has turned me into the kind of person who eats beans at least three times a week, has a bean club membership, buys clay pottery and cazuelas exclusively to cook beans in, and has about thirty pounds of dried beans in my larder. And being bean obsessed, one of my favorite bean dishes has become Gigantes Plaki, a Greek baked bean dish packed full of vegetables; it has a delicious agrodolce sauce of tomatoes, vinegar, and honey, and highlights glorious, giant beans. Made on a lazy Sunday or afternoon, you can eat Gigantes Plaki throughout the week, though I doubt it will last that long. The Greeks use a bean called Gigandes (literally “Giant”), but we sell these incredible Royal Corona beans from Rancho Gordo that are a perfect substitute. Royal Corona beans are truly regal beans that demand to be the center of any dish they’re in. When cooked, they can reach the size of your thumb. Their thick skins and densely creamy interior make them perfect in soups, stews, and salads, or marinated, baked, and sauced like pasta. 

Ingredients:

1 bag (1 lb.) Rancho Gordo Royal Corona Beans 

3 cloves garlic, sliced

1 leek, sliced

1 red onion, diced

¼ cup parsley, minced

¼ cup dill, minced

1 lb baby spinach, roughly chopped

1 stalk celery, diced

250 g Bianco di Napoli tomatoes, crushed or blended 

2 tbsp Bianco di Napoli tomato paste

2 oz. honey, preferably a more savory type like pine, buckwheat, or chestnut honey

¼ cup La Guinelle Banyuls red wine vinegar

½ cup EVOO

½ lb. Essex Lesbos Feta

  1. Check the beans for debris and rinse them. Soak them in plenty of cold, fresh water so that they are covered by at least two inches of water. Add a generous two finger pinch of salt to the water; this won’t make the beans tough. I don’t normally soak dried beans before cooking them, but because of the brobdingnagian size of these beans, a soak of at least eight hours, overnight, or even 24 hours helps them hydrate and cook more evenly and quickly. If you don’t soak them, expect the time it takes to parcook them to be anywhere from 1 to 5 hours. I choose to soak them for 24 hours and cook them in their soaking liquid with 1 bay leaf in an Instapot pressure cooker on high for 12 minutes. (If you choose to cook them in fresh water, add salt to the water again.) If you are using a traditional stovetop pot instead of a pressure cooker, the time to parcook the beans should take around an hour to an hour and a half. The beans need to be parcooked, though, otherwise they’ll turn to mush in the oven. Test them from time to time to see if they are still toothsome with a bit of graininess. A good indicator is to squeeze one and see if the cotyledons slip from the skin and easily split in half. 

  2. Meanwhile, prepare the spinach by salting it in a large bowl or colander and massaging it until wilted. Allow it to drain for 10 minutes then squeeze as much water out as you can. Roughly chop the spinach and reserve it in a large bowl.

  3. Prepare the remaining vegetables and herbs, placing them in the large bowl with the spinach. For the leek, use only the white and light green parts. Split the leek in half and then cut ribbons about an ⅛ inch wide. Rinse these in a bowl of water to remove any sediment and allow them to sit for 5 minutes. The sand should sink to the bottom and you can skim the clean, floating leeks from the surface. 

  4. Once the beans are par cooked, remove them from their cooking liquid and place them in the large bowl with the vegetables. Add the red wine vinegar, olive oil, crushed or blended tomatoes, tomato paste, honey, and a generous pinch of salt. Fold them gently to combine and avoid splitting the beans. Pour this mixture into a 9x12 casserole dish. If there isn’t enough liquid to just cover the beans, add some of the bean broth or water. Place a sheet tray under the casserole dish to prevent any liquid from bubbling over onto the oven.

  5. Bake in a 350º F oven and for an hour to an hour and a half. Test a bean for doneness. It should be creamy, buttery, without any graininess and a rich sweet and sour sauce should have formed.

  6. Allow to cool for ten minutes before topping with feta, fresh parsley and dill, and, if desired, a long, golden thread of olive oil.


    Questions, comments, or concerns about this recipe or others I’ve written? Write to me at austin@france44.com. Did you make this recipe? Take a photo of it and tag us in it @france44cheese! #CLAM


Cook like a Meat Monger: Pork Chili Verde

by Matt Gruber

“In the depth of winter, I finally learned that within me there lay an invincible summer.” -Albert Camus.

Early in life I was inspired by Camus and his philosophies. While he isn't known for his passion for food, strong flavor, or cooking, he is known for absurdism and some cornerstones of philosophical thinking. For me, cooking is very philosophical, questioning things like why Thai sweet basil instead of purple basil? Should I leave my steak out to come to room temperature before cooking? Why do I want dried beans instead of canned beans? After cooking someone's recipe once, I always question it and begin to tweak it in my own way, seeking purpose for my changes and enhancements. Currently in the depth of winter, I am bringing you my take on a recipe I am deeply passionate about : Pork Chili Verde.

I remember my first few months as a Meatmonger in Saint Paul: the man himself, Nick Mangigian, was asking me what's something good I have cooked recently. In a slump, I honestly didn't have anything interesting or creative I had cooked outside of assembling a peanut butter and pickle sandwich (honestly you have to try it, trust me).  He recommended a simple yet delicious recipe - Chili Verde. I was intrigued, cooking dishes from Mexican origin was always a staple in my household. I gathered what supplies I could from the shop and was off to get my peppers and other ingredients from the co-op. After cooking the dish I was floored, such simple seasonings from the spice cabinet and most of the flavor coming from the peppers and tomatillos, it was a dish to cry for. I was hooked, cooking it with chicken, beef, and pork I just couldn't get enough. To this day its one of our favorite things we recommend to customers. This time around I am using the addition of Pork Osso Buco to add a bit of extra flavor and collagen. Strap in and buckle up, this recipe will warm your soul and open up your own invincible summer during these last cold winter nights.

My take on this recipe uses less poblano peppers, the addition of carrots and their green tops for a welcomed sweetness and earthiness, and the secret ingredient- Secret Aardvark Serrabanero. You'll just need a dutch oven and an immersion blender to replicate this dish.

Feeds 2 people with leftovers, 4 people one meal.

Prep time : 1hr

Cook time : 2hr

Ingredients

1 tablespoon cumin

4 cloves garlic

2 carrots with green tops

2# tomatillos with husk

1 green pepper

1/2 poblano pepper

1 jalapeno pepper

1 serrano pepper

1 onion, save 1/3rd for garnish

2 1/2 cups chicken stock

salt and pepper to taste

1/2# Pork shoulder cubed

1# Pork Osso Buco

1/2 cup Secret Aardvark Serrabanero

1. Preheat the oven to 425. Dehusk your tomatillos, slice peppers, carrots with stems, and onion. Deseed peppers to preference of heat, and place all ingredients on a baking tray.

2. Place sliced ingredients from step one in the oven. cube up pork shoulder and salt and pepper to taste. Set aside pork until you've let step 1's ingredients cook for 15 minutes in the oven.

3. Turn the oven up to broil and cook ingredients for another 10 minutes or until a bit charred and soft. Preheat the dutch oven on medium high heat for 5 minutes. Place pork in a dutch oven with some extra virgin olive oil, brown pork then remove and set aside in a separate vessel.

4. Remove peppers, tomatillos, carrots and onion from the oven and place in the dutch oven. Add cumin and Serrabanero hot sauce. Place 2 cups chicken stock into the veggie mixture and use an immersion blender to blitz until all chunks are gone and consistency is that of a thick salsa.

5. Set the oven to 350. Place pork into freshly blended mixture and cook in the oven with lid half on for one hour. After one hour, stir and add 1/2 cup more chicken stock. Place back in the oven with the lid half on for another hour.

6. During this period you can cook your rice. I picked Jasmine rice because it's what I had around, any rice will do honestly. After your rice is cooked and the pork has braised for another hour, assemble and enjoy. Garnish with cilantro, diced white onion, and a squirt of lime juice. 

Cook like a Cheesemonger: Steak au Poivre

by Austin Butler

We have an incredible new product tucked away on our shelves—green salt-cured peppercorns from Cambodia. They are bright, salty, and spicy, with a vegetal kick that’s right at home in a bowl of green curry. But I wanted to try them in a bistro classic that’s perfect for a Valentine’s Day menu: Steak au Poivre. Nowadays you see Steak au Poivre made with black peppercorns, but traditionally it was made with brined green peppercorns. This dish sauce comes together quickly like most bistro dishes (bistro comes from the Russian быстрее or “quicker!”). Served alongside a simple salad and a potato dish like Pommes Lyonnaise or Fondant Potatoes, you have a meal to swoon over.

Steak of your choosing (I used 2 x 8 oz. New York Strips)

1 shallot, minced

200 g. crème fraîche (about one 8oz container)

3 tbsp unsalted butter

50 g/ 3 tbsp Mill Pepper Co. Ltd Green Kampot Salt Cured Peppercorns

3 tbsp Brandy / Cognac (I used Lustau)

1 c beef stock

Parsley

Tips: While the flambé is optional, I highly recommend it. Besides the impressive display, it gives you a visual cue when the alcohol has cooked off. Brace yourself for a WHOOSH! And be sure to have adequate clearance above the range and stand back lest you lose your eyebrows.

  1. Lightly season the steak with salt and then generously season it with black pepper. The green peppercorns are cured in salt and will be our primary source of salt. Use unsalted butter and, if you’re using another brand of beef stock, be sure to use low sodium or no sodium stock.

  2. Cook the steak to your desired preference. I allowed the New York Strips to temper for an hour and then pan seared them over high heat for about 4 minutes each side until the internal temperature read 135º (medium rare). Remove them from the pan and allow them to rest while you build the pan sauce. Remove any excess oil from the pan.

  3. Return the pan to medium heat. Add a knob of butter and the shallots to the pan and scrape up the fond.

  4. Add the green peppercorns.

  5. Add the cognac or brandy. Flambé! Reduce the sauce to almost nothing.

  6. Add the beef stock and reduce for several minutes until it is syrupy. You can use France 44 Demi instead of Beef Stock to speed this process up.

  7. Add the crème fraîche slowly to prevent it from breaking.

  8. Reduce the sauce until it coats the back of a spoon and a clean line is left when you drag a finger across it. Taste it and adjust the seasoning accordingly. I usually add more freshly cracked black pepper. 

  9. Serve over the steak and garnish with parsley.

Note: these NY Strips had a pretty significant fat cap, but that could be trimmed down per your preference.

Cook Like a Meatmonger: Bulgogi (St. Paul Style!)

by Matt Gruber

One month down, one fresh month loaded. The 28 days of all things love: February. Not only do we get to spend this month reinvesting in our various relationships, (I think) we should also spend this month rediscovering what we love about food. I cannot pinpoint when exactly my love for Korean food started, but I am sure I was too young to even understand the dynasty era techniques and history that were involved with what I was putting in to my little American stomach. Everything from kimchi to bibimbap, and all the instant noodles in between—I was hooked. Textural contrasts, depth of flavor, and spice all excited my palate in new ways, and continue to now in 2023. I decided to take a crack at a classic, bulgogi. I have had this dish in its most traditional form (usually skirt or tenderloin scraps pounded thin) all the way to the American gastropub burger take on it. Existing in one way or another for thousands of years, it made its place at the table during the Joseon Dynasty. While its origins date back to the Goguryeo era when it went by a different name, maekjeok, I am going off the beaten path to bring you an affordable way to spin this dish. During ground beef month, another thing to love during February, all the ground beef is discounted at our shops, making it a perfect time to test drive this recipe.

Ingredients:

8oz ground beef (80/20)

1/4 cup finely minced onion

1 tsp ground ginger

4 cloves garlic, minced

2 tbsp soy sauce or ponzu (1tbs soy sauce, 1tbs hot sauce if you want some extra spice)

2 tbsp brown sugar (you can use white sugar and honey/molasses as a sub for brown sugar)

1 tbsp sesame oil

2 tbsp rice wine vinegar

1 bunch green onions

2 pinches white and or black sesame seeds for garnish

2 tbsp shiitake mushroom powder

2 cups jasmine rice

1 tbsp olive oil

5 baby portabella mushrooms (can use more to replace ground beef for vegetarian option)

1 carrot, shredded (garnish)

Quick Pickle:

1 glass jar, I used old faithful (empty pickle jar)

2 small cucumbers, sliced thin

1 jalapeno, sliced thin

1 cup vinegar, such as white, apple cider, or rice wine

1 cup water

1 tbsp kosher salt

1 tbsp granulated sugar

1 tsp whole peppercorn

1 tsp mustard seed

You can add a sauce to garnish, mayo + sriracha + soy (optional)

  1. Place the vinegar, water, salt, and sugar in a small saucepan over high heat. Bring to a boil, stirring to dissolve the salt and sugar. Meanwhile, pack your vegetables into a clean jar. Pour the finished brine over the vegetables, filling each jar to within 1/2 inch of the top. You might not use all the brine. Prep up to 48 hours beforehand, minimum 1 hour. These will last up to two months in the fridge.

  2. Add onion, ginger, garlic, soy / ponzu, brown sugar, sesame oil, and rice wine vinegar to ground beef, thoroughly mix and refrigerate for up to 24hr.

  3. Saute sliced mushrooms with a sprinkle of green onions in 1 tbsp olive oil, 1 tbsp rice wine vinegar

  4. Start cooking your rice and get your favorite cast iron or heavy bottom pan ready for the beef.

  5. Cook your ground beef until well browned. Remove from heat and plate over rice with pickled cucumber, jalapeno, shredded carrots, and mushrooms.

  6. Step 6 (optional): Mix mayo + your favorite hot sauce + a splash of soy in a bowl for a creamy topping.

And there you have it! An American meatmongers take on bulgogi, ground beef style; trying to stay true to the classic flavors while adding a bit of personal flair.

Cook Like a Monger: Tiramisu

by Austin Butler

Tiramisu has been a favorite dessert of mine ever since my grandmother prepared it for me as a teenager. I loved it so much I must have eaten six servings that evening, and I could not for the life of me fall asleep that night before trudging off to school the next day. It was only the next day my grandmother explained that tiramisu means “pull me up” in Italian because of the strong coffee used to soak the biscuits. Traditional tiramisu recipes called for the use of Savoyardi biscuits (Lady Fingers), but here I decided to substitute biscotti or cantuccini as the Italians would say. These cantuccini from Antonio Mattei are a staple of the shop during the holidays. I enjoy the crunch and texture the sliced almonds baked into them bring to this very soft dessert. 

Antonio Mattei Biscotti

450 g Mascarpone (or two 8oz containers)

2 bags Antonio Mattei Biscotti

3.5oz heavy cream

4oz Badia a Coltibuon Vin Santo or another sweet wine like Marsala

6oz strong coffee

125 g (1 c) sugar

3 eggs

1 bar dark chocolate or cocoa powder (for dusting)

1 lemon

  1. Separate the egg yolks and whites.

  2. In a separate bowl combine the egg yolks and half the sugar. Beat until creamy and all the sugar is dissolved. Add the mascarpone and stir to combine. Add the heavy cream and give it a final mix.

  3. Beat the egg whites to stiff peaks. I add a few drops of lemon juice to help the whites stiffen.

  4. Gently fold the egg whites into the mascarpone mixture. It will seem too wet at first, but keep folding and you should end up with a nice, airy batter.

  5. Brew a strong cup of coffee. Add the remaining sugar and the Vin Santo and stir until dissolved. 

  6. Dunk the biscotti into the coffee mixture for just a second or two. If you leave them too long they will become sodden and break, leading to a very wet tiramisu that weeps coffee. We also want these biscotti to soak up some of the mascarpone mixture as it sets.

  7. Spread a layer of the mascarpone cream on the bottom of your serving dish. Layer with the soaked biscotti. Repeat and finish with mascarpone on top.

  8. Reserve in the fridge for at least 4 hours or overnight to set.

  9. Top with grated chocolate or cocoa powder, or even some crumbled biscotti. Serve alongside a glass of Vin Santo.

Cook like a Meat Monger: Black Garlic-Glazed Chicken

by Matt Gruber

With the dawn of the new year, my favorite month is upon us: discounted chicken month. I could talk about our chicken until my jaw fell off: locally farmed, air chilled, pasture raised and all around delicious. Weekly it’s always one of our bestsellers, and we always love to chat about new recipes.

For 2023, I am really leaning into my love of flavors from across the world. A great Japanese proverb that sticks with me is, 七転び八起き (nana korobi ya oki) , which translates to  “Fall seven times, get up eight.” I want to challenge myself and take my cooking curiosity to its limits this year, mess ups and all. No matter how many times I cook a dish I will always look to refine and tweak it. Gravitating towards depth of flavor, freshness, and my love of all things umami, I wanted to see how many ways I could cram our black garlic molasses into my weekly menu. The Japanese syrup is made from 100% fermented garlic, but don’t let that scare you. The flavor is nutty and rich, but also surprisingly tangy. Landing on a whole chicken (duh, its January), I decided to try out a glaze for the poultry.

Knowing the sugar in the molasses would burn too quickly if applied at the start, I figured a glazing at the finish would be perfectly timed. To cut down on the thickness and intensity of the black garlic I cut it with some fantastic ponzu (a traditional sauce, typically sold in America as a mixture of soy and citrus)—it complemented the intense garlic flavor of the molasses quite well. Paired with, honestly, any of your favorite roasting veggies this dish will totally shine. I picked onion, snap peas, and celery (gotta clear out that produce drawer) and it accompanied it wonderfully.  

Enjoy on its own with the veggies or over rice—heck, eat a leg like you are at the renaissance fair! Cheers to a wonderful year of cooking and good food.

Ingredients:

1 whole 3-4 lb chicken 

1/3 cup Black Garlic Molasses

2 tbsp ponzu or soy sauce

1 yellow onion 

1 lemon 

Your favorite roasting veggies 

Salt, to taste

Directions:

  1. Preheat the oven to 425°

  2. Halve the lemon and the onion. Stuff one half of each into your bird.

  3. Slice your roasting veggies into uniform pieces. Toss them in oil and salt. Lay veggies on the bottom of your roasting pan. Top veggies with your whole chicken.

  4. Pop roasting pan in the oven and cook for 40-50 minutes.

  5. Meanwhile, in a small bowl, mix the black garlic molasses and ponzu/soy. Zest the remaining lemon half into the glaze. If using soy, juice the lemon half into the mixture as well.

  6. When your chicken reaches an internal temperature of 150°, apply the glaze to the skin and cook for an additional 10 minutes at 450º. Remove from the oven, and rest 5-10 minutes. Ensure that the final temp reaches 160º.

  7. Enjoy!

Risotto ai Funghi (Mushroom Risotto)

Serves 4-6 / Prep time 15 minutes / Cook time 30 minutes

Like so much of Italian gastronomy, there are many orthodoxies attached to risotto. A wooden spoon must be used. The rice must not only be stirred constantly, but in only one direction! As a result risotto has received a reputation as fussy and tedious. But I have found that risotto is an easy dish for the patient, and I personally enjoy unwinding in the kitchen with a glass of wine in hand.

There are risotto recipes that offer shortcuts like the use of a pressure cooker or the addition of a slurry, but I find those “time savers” lead to less flavor development. This recipe calls for two quarts of rich, full-fat chicken stock made to be reduced down into what is practically demi-glace. All those roasty, toasty flavors are concentrated into each grain of rice.

This dish can easily be scaled up or down, made vegetarian or even vegan with simple substitutions like vegetable stock, vegan butter, and nutritional yeast. Want to skip the wine? Substitute white balsamic for that same fruity acidity. What may surprise you is that the risotto is quite “soupy.” It should pool on the plate rather than form a stiff mass.

You will need:

500 g/1 package Principato di Lucedio Carnaroli Rice 

2 qts. Chicken Stock (France 44 makes an excellent one)

Half a white onion or one whole shallot, minced to roughly the size of a grain of rice

1 cup dry white wine like Pinot Grigio or an unoaked Chardonnay (I used L’Agnostique Chardonnay, which, at $12.99 and for its quality, is an absolute steal.)

1 cup freshly grated Cravero Parmigiano Reggiano

A sachet (about 1 oz.) of dried mushrooms (Here I use dried Porcini)

450 grams/1 lb. of fresh mushrooms (Here I use a combination of crimini, shitake, and beech mushrooms. I mince the crimini to fill out the risotto and leave the shiitake and beech larger for texture. The only mushroom I would not recommend for risotto is Portobellos. Their large, dark gills stain the risotto an unappetizing color)

1 tbsp White balsamic or sherry vinegar

Flatleaf parsley

Extra virgin olive oil

Butter

Salt

Black or white pepper

  1. Heat the oven to 425º F. Prepare your mushrooms by removing the stalks and brushing off any dirt with a paper towel or brush. Mince the majority of them while reserving some large pieces or clusters to roast off. Coat these roasting mushrooms in EVOO and salt. Roast for 15 to 20 minutes.

2. In a pot, bring the chicken stock to a simmer. Add the dried mushrooms, cut the heat, and cover to allow them to steep for five minutes. Remove the rehydrated mushrooms and mince, reserving them alongside the fresh mushrooms. I like to add the mushroom stalks and onion scraps to the stock at this point to minimize waste and maximize flavor, being sure to ladle the stock through a hand sieve to catch any debris. 

3. In a large pan or saucier, melt a generous knob of butter (about 2 tbsp) and a “thread” of olive oil (about 2 tbsp) over medium-high heat. Add the minced onion or shallot and sweat. Once translucent, add the minced mushrooms and a pinch of salt. We want to drive out as much moisture as we can from the mushrooms. Scrape any bits you see sticking to the pan. I recommend a wooden spoon for this task. As an extension of your arm, it allows you to feel if something is sticking on the bottom of the pans and the ability to scrape it into delicious fond before it burns and without scratching your pans.

4. Add the rice to the pan and toast it. If the pan looks dry, add more EVOO. You will notice the grains turn translucent around the edges and a pleasant nutty aroma, about three or four minutes. Deglaze with the white wine, making sure to scrape up all that delicious fond on the bottom of the pot. Deglaze yourself with some wine at this point if you haven’t already.

5. At this point, the cook time depends on your comfort and confidence. I prefer to cook over a medium flame, which generally takes about 17 minutes or so. This step of the cooking process is often the most stressful for home cooks, but take a deep breath, bump your favorite retro Italian hits, and have a glass of wine. You are simply adding stock to the pan, stirring, and adding stock when the pan begins to dry. Once the stock has reduced, add another ladle or two and continue this process until the rice is cooked, about 17 minutes. If you run out of stock you can use hot water at this point—there’s plenty of flavor in the rice and sauce. You can also cook the risotto at a lower temperature if you feel like the stock is evaporating too quickly. Like pasta, risotto is best al dente, so I start checking the rice around the 14 minute mark by sampling a grain or two. It shouldn’t be crunchy or grainy, but toothsome. You should be able to feel the individual grains. Remember that it will continue cooking off the heat.

6. Off the heat, add any remaining remaining stock, a knob of cold butter, parsley, the Parmigiano Reggiano, and a thread of EVOO. Stir, then cover, cut the heat, and let sit for two minutes. It will look too wet, but trust in the process. After two minutes, remove the lid and return the heat to medium. 

7. Now, MANTECARLO! (STIR IT!) Stir the risotto while shaking the pan back and forth. You should notice a rich sauce coalesce as the risotto thickens after just a minute or two. Add the white balsamic or sherry vinegar then serve immediately into warmed, shallow bowls or high sided plates—the benefits of a warmed dish cannot be overstated. A shake or two of the plate should level the risotto evenly. Top with the roasted mushrooms, Parmigiano Reggiano, parsley, and freshly cracked pepper. Buon appetito!

Have leftovers? Make some arancini by simply stuffing the balls of risotto with cubed Calabro whole milk mozzarella, rolling the balls in breadcrumbs and frying at 350º until golden brown. Ready to move on to the next level of risotto? Try Massimo Bottura’s mind-bending recipe for Risotto Cacio e Pepe.

Questions, comments, or cries for help about this recipe. cooking, or cheese at large? Ask your monger by sending an email to cheeseshop@france44.com.

Cook Like A Cheesemonger: It's A Dutch Pancake, baby

This large, fluffy “pancake," essentially a massive skillet popover, is excellent for breakfast, brunch, lunch and all times in between. And it comes together in about five blessed minutes of work.


Just dump all of the ingredients into a blender, give it a good whirl, pour it into a heated skillet sizzling with butter, and pop it into the oven.

Twenty five minutes later? Heaven. It's wonderful simply with powdered sugar and a little lemon, but I love to make it savory. I’ve topped mine with Ogleshield (an English raclette-style cheese that also happens to be on promo this weekend), our house smoked ham, and an over-easy egg. It’s absolutely perfect.

Serves 2-4

Ingredients:
3 large eggs, at room temperature
½ cup all-purpose flour
½ cup whole milk, at room temperature
1 tablespoon sugar
Pinch of nutmeg (optional)
4 tablespoons unsalted butter, cut into tablespoons
4 oz F44 smoked ham (our bacon would be delicious too!)
2 oz Ogleshield, sliced into thin strips
Fresh chives (or herb of your choice)
Salt and Pepper to garnish

Directions
Step 1:
Preheat oven to 425 degrees.
Step 2:
Combine eggs, flour, milk, sugar and nutmeg in a blender and blend until very smooth. Batter may also be mixed by hand.
Step 3:
Place butter in a heavy 10-inch skillet and place in the oven. As soon as the butter has melted (watch it so it does not burn) add the batter to the pan, return pan to the oven and bake for about 20 minutes, until the pancake is puffed and golden. Lower oven temperature to 300 degrees, top with cheese and ham, and bake 5 minutes longer until browned and melty. Use this time to cook your fried egg!
Step 4:
Remove from oven. Add fried egg and garnish with chives, salt and pepper. Serve immediately!

Cook Like A Cheesemonger: Ramen

Cold Weather, Hot Noodle Bowl


I have yet to find the wherewithal to create my own ramen tare (flavor base) from scratch. I don’t dream of blanching and boiling pig bones on my stove for 12-18 hours for tonkotsu broth, and since I’m fresh out of Japanese kelp, I’m not making dashi (stock) anytime soon.

As it stands, I don’t need to. Our cheese shop has multiple ramen bases that are incredibly delicious, as well a fantastic Japanese pantry. (A key note, you don’t HAVE to use ramen noodles. You’re welcome to use linguine, udon, and we carry multiple types of gluten free noodles as well.)

This noodle bowl recipe is flexible, with nearly unlimited combinations. You can add other proteins or vegetables if you’d like or omit those that don’t appeal to you.

The one thing I love about ramen and noodle dishes in general is their versatility and infinitely customizable combinations to suit every season, taste, and diet.

I included lots of different items from the shop that I’m really excited about, that I’ve been recently obsessed with.

One of those is a fantastic sea kelp kimchi that I buy a jar of practically every single week. Another is a chili crisp from Masienda--I've gone through a jar of every variety. We carry nearly all of these items in the shop, making it super easy to put this dish together.

As much as I love ordering take out, there is something incredibly special about putting a dish like this together yourself to share with someone. I hope you enjoy!

(Serves 2)

Ingredients:

1 (17oz) jar of (the aptly named) Professional Ramen Base, flavor of your choice
1 (250g) package of Ramen noodles, or noodles of your choice
2 eggs

2 oz dried porcini mushrooms

¼ cup SeaChi Kimchi
1 tablespoon of Masienda chili crisp
1 tablespoon Regalis Japanese Nori Butter (added richness if wanted, I highly recommend)
Radish for garnish (optional)
Sesame seeds for garnish (optional)

Step One: Soak + Fry the Mushrooms

Place dried mushrooms in a bowl of hot water for 30 minutes. Drain well, blotting with paper towels. Heat two tablespoons oil in a skillet over medium heat. Sear mushrooms until browned, 4-5 minutes.

Step 2: Cook Jammy Eggs.

Bring a medium pot of water to a boil. Carefully add eggs one at a time and boil gently for 6-7 minutes. (Egg yolks should be shiny yellow and almost jammy; egg white should be just set.) Transfer to a bowl of ice water to stop cooking; let cool. Peel and set aside.

Step 3: Cook your Noodles

Cook noodles in a large pot of boiling water according to package directions for al dente; drain (no need to salt the water, as ramen noodles contain more salt than pasta). Set cooked noodles aside.

Step 4: Heat Broth and Assemble! ​

When ready to serve, bring ramen broth to a simmer; it should be very hot. Just before serving, place noodles in a deep bowl, or divide into two, if sharing. Slowly ladle hot broth over noodles. Add your nori butter to your bowls. Top your noodles with your jammy eggs, kimchi, nori sheets, crispy mushrooms, scallions, radish, and chili oil.

Stay Warm!

Order Online